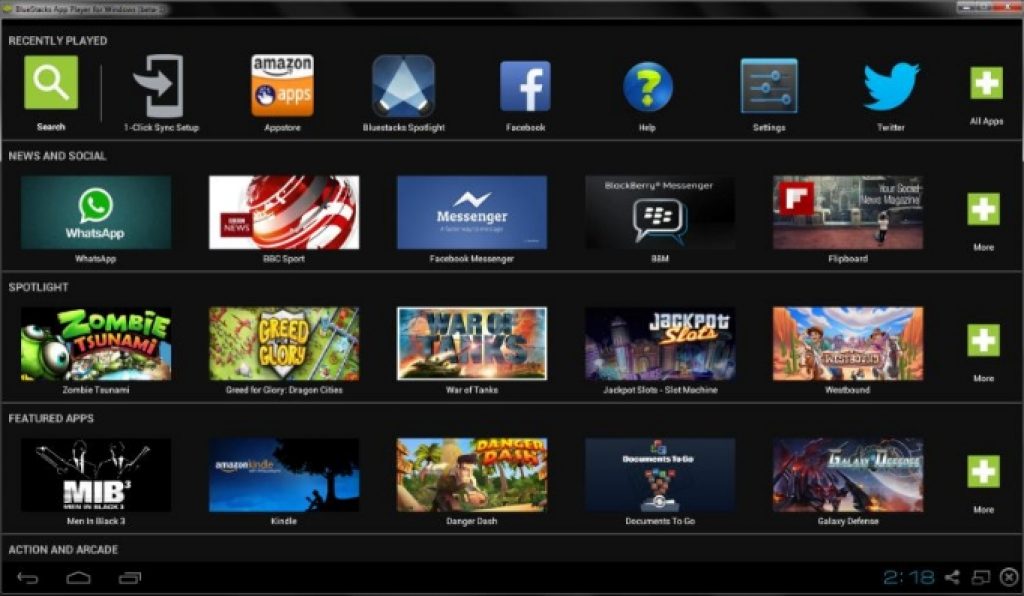
BlueStacks emulator is considered by many as the best and most stable Android app player. However, many users have been complaining about parameter is not valid error that pops up when they open BlueStacks for Windows 10. This error message is mostly effecting those who have switched to latest Windows 10 OS on computers with older hardware. In this post i am going to discuss a simple solution that will fix parameter is not valid error on BlueStacks, see step-by-step instructions manual below for it.
Theses error complaints aroused my curiosity, which led me to search for its solution and upon researching i came across that the Error: parameter is not valid error message has assumed the proportion of existential problem for PC users of Android apps who can’t live without BlueStacks simulator for playing Android apps. But worry no more because here you can find an fix for the problem.
Also See: Download Bluestacks for Windows 10 (32-64 bit) Full Free
How to Fix ‘Parameter is not Valid’ BlueStacks error on Windows 10:
Working on the solution i found out that the main culprit behind this ‘Error: Parameter is not Valid’ message is the software compatibility problem. Simple workaround BlueStacks program compatibility mode problem led to the resolution of the problem. I have explain it in simple steps below but before that you should know what is program compatibility, its working and how it impacts software functioning.
Compatibility mode is the software structure that enables emulator tool to play new or outdated software, apps and programs that are incompatible with advanced hardware on PC/laptops. It also plays incompatible software on non-native PC platforms but if there is some problem with the compatibility mode it fails to load old or incompatible apps on PC. For this reason you can see solution in the step-by-step guide below.
Also Check Out: Download BlueStacks Offline installer for PC
First check whether your PC hardware fulfills minimum installation requirements for BlueStacks emulator. Problem may be because your PC hardware is not updated enough to play BlueStacks. For proper functioning ensure that the computer has at least Intel Core 2 Duo or higher, minimum 2GB RAM and 512 MB graphic card. If that’s the case then update PC hardware and play BlueStacks again, otherwise, see instructions below:
1 – Open PC and go to start > select all apps > BlueStacks and click on the BlueStacks setup.exe file to go to the file location.
2 – Right-click on BlueStacks emulator icon in the setup folder and open ‘properties’. Open compatibility tab and check the box next to the option run this program in compatibility mode. Also choose the operating system type, which could be Windows 10, Windows 7 or 8, depending on which one you use.
3 – Now hit the apply button and it’s done. Close the window, restart the PC and open BlueStacks emulator again this time it should play apps as normal without any error message.
For More On AppsforWin10, See: How to Fix App Sync Issue on BlueStacks | How to Root BlueStacks 2


