After a catastrophic failure of Windows 8 and Windows 8.1 Microsoft came back in the game big time with the launch of Windows 10. Adoption rate and early reviews of Microsoft’s latest OS suggest that it has been a massive hit among the users. Everything that users complained about Windows 8/8.1 has been rectified in Windows 10. Start button is back, searching files and information over the internet with Cortana is swift, user-interface is simple and easy to navigate. Many iMac and Macbook users have been asking about how they can install Windows 10 on their machines, well, we have come up with the solution for you, just follow the simple process that we are going to explain to you and you should have Windows 10 installed on your Mac without any problem.
Also Read: Drivers for Windows 10
First of all you must have Boot Camp Assistant on your Mac because whole installation process will be handled through Boot Camp Assistant tool. Here is a step by step guide of installing Windows 10 on Mac
1 – Backup all your files and data before initiating the Windows 10 installation process to prevent any data loss in case installation goes awry. To backup data use Time Machine on Mac.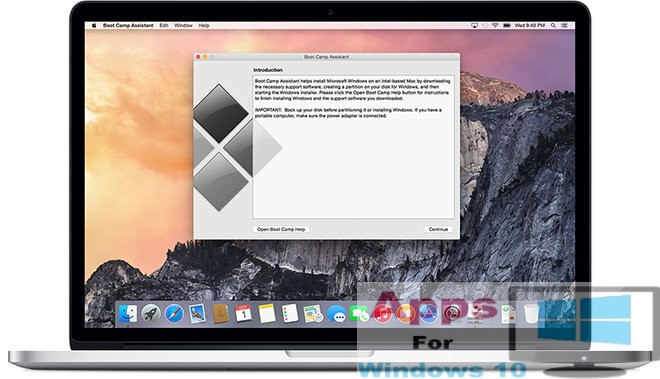 2 – Check system hardware requirements for Windows 10 beforehand in order to avoid any unwanted errors during the installation. Make sure you have updated to the most recent Mac OS X version and your PC must have minimum 2 GB RAM and at least 30 GB hard disk space.
Also See: How to block Pop-Ups in Microsoft Edge Browser Manually
3 – Keep Windows 10 product key with you or write it down before starting installation.
4 – Now Save all your Windows 10 installation files along with Boot Camp drivers on a USB drive having minimum 16 GB space.
5 – Plug in USB and open Boot Camp Assistant. Double-click on Windows 10 iso file. Click continue when asked about whether you want to go ahead with formatting, next Boot Camp Assistant will take over and do the formatting for you and copy Windows 10 files and drivers to USB.
6 – Once all Windows 10 files and drivers are transferred to USB, Boot Camp Assistant will show a partition options on the screen. You can select how much hard disk space you want to allocate to different drives on your Mac, we recommend you reserve at least 30 GB space for Windows 10 installation drive and click install. Now Boot Camp will do the partition and system will reboot at the end of the process.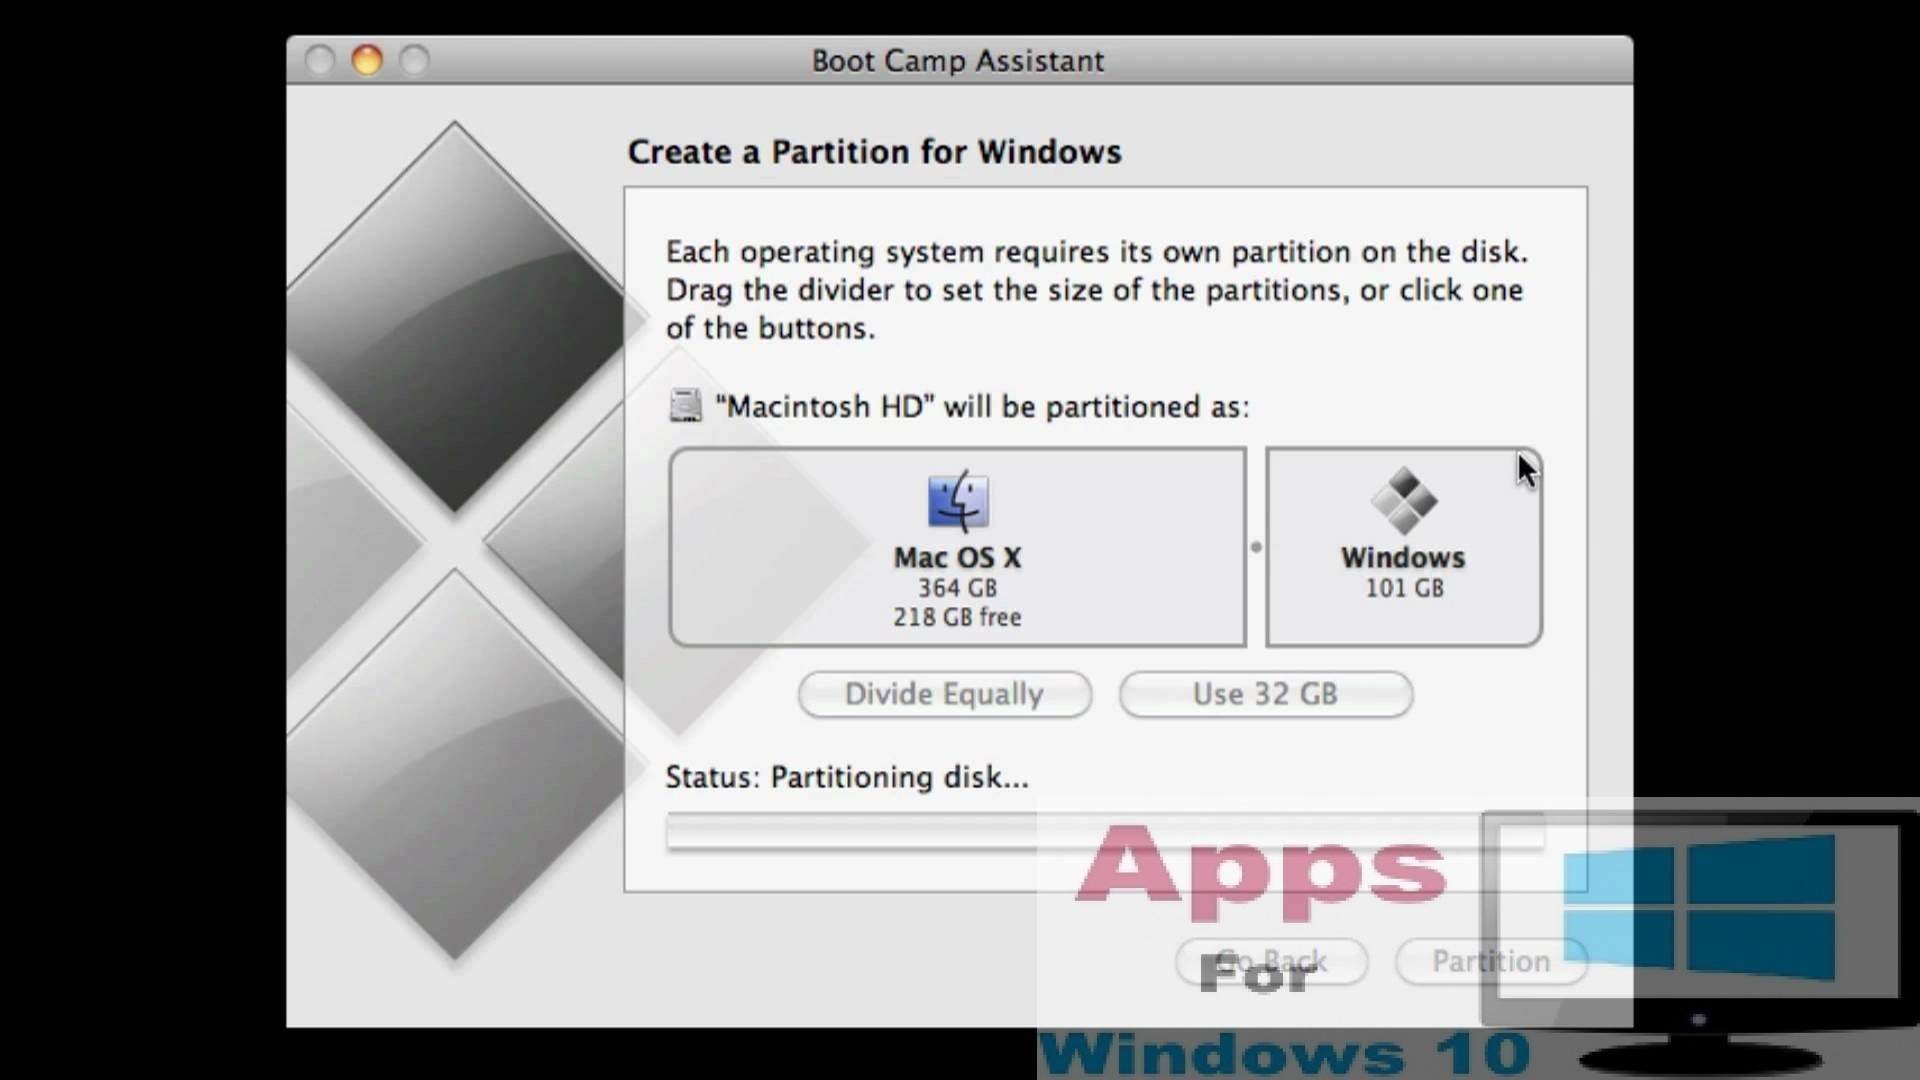 See Also: How to Download Any Android App For PC running Windows 10, 8.1, 8, 7 or XP
7 – After the restart you will be asked to enter product key, enter Windows 10 product key and hit next. Boot Camp Assistant will complete the partition after that and your PC will restart again.
8 – When the system is back on after reboot, head to USB drive and click on Boot Camp drivers that you saved in step 4. This will install Boot Camp drivers and Windows 10 files on Mac and your system will restart again.
9 – All done. You have latest Windows 10 installed on your Mac. Enjoy Microsoft’s latest and greatest OS now on Apple’s iMacs and Macbooks.
Read on: How to Disable Windows Defender permanently in Windows 10