Microsoft has brought in a feature that allows Windows 10 users to reset Surface devices without needing a recovery image. All you are required to do is to reinstall Windows 10 after which Windows Update will setup the fresh Windows 10 install on your Surface device. See the step-by-step guide below to learn how to reset any Surface device without a recovery images.
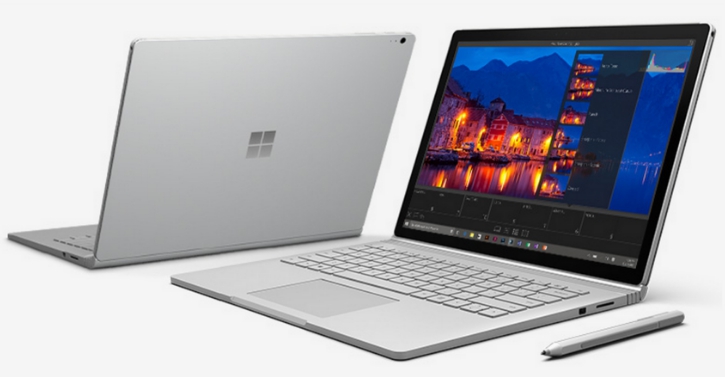
If you own a Surface Book, Surface Pro 4, Surface Pro 3, Surface 3, or Surface Studio, you don’t need a recovery image to reset your device. There are only three things needed to reset Surface devices without a recovery image, including a Windows 10 installation file, a working internet connection, and Windows 10 drivers.
Installing Windows 10 without a recovery image offers a convenient way of cutting down on steps needing to fresh install Windows 10, if its been facing performance issues due to errors and bugs. Normally, when your Surface device isn’t working as expected, you head over to Microsoft support site for downloading recovery images, which are then used to create a bootable USB flash drive, which in turn is used to reset Windows 10 back to factory settings during the re-installation process.
Although this requires a bit of a technical know-how, but its not that hard to pull off. However, there is one issue that could create issues when installing recovery image files from the Microsoft support, which usually shows up in the form of this error message: “The recovery image for your device isn’t available for download through this page. Please contact us for help.” But on Surface devices, you no longer need to have a working image file to reset Windows 10.
See the steps in the guide below to learn how to get reset Windows 10 on Surface Devices without a recovery image. This way you won’t have to download or have recovery image files with you all the time if the need for instant Windows 10 reset arises.
Reset Windows 10 On Microsoft Surface Devices Without Recovery Image Files
A recovery image is a collection of the installation files required for setting up Windows 10 OS. The recovery image file package contains all necessary drivers, installation files, software and apps for Windows 10 support. The most important component of the recovery image are the device drivers that are needing to ensure proper functioning of Windows operating system with device hardware.
However, you can afford to download a recovery image just for the sake of drivers because Windows 10 Update does a decent job of ensuring that the drivers on your device remain updated and in proper working condition. In this case, all you have to do is to reset Surface device using the steps in the guide below, and simply check latest Windows Updates to see if new driver updates are available for your device.
Note: Please do keep in mind that resetting Surface Device will erase all existing data on your device, so we recommend that you create a backup of important files, documents, apps, settings, and other important tools before starting. As you will need to restore backup after resetting Surface device to get back your device data.
Here’s how to reset Surface Pro device back to factory settings without needing the recovery image or if you don’t have it on your, to get your device back to working condition:
1 – Create a Windows 10 USB installation media using the Media Creation Tool.
2 – Visit Microsoft Support page to download drivers and firmware files for your Surface device. Although you don’t need it for this process, but download it anyway if you wish to manually install or reinstall drivers after fresh Windows 10 installation on Surface device.
Note: Make sure to download updated .msi file to automatically installed latest drivers for Windows 10.
3 – Power off your Surface device.
4 – Connect your Surface device to a power source to avoid battery drain during the reset process.
5 – Insert the USB drive with Windows 10 installation files saved on it. If your device is not recognizing USB connection, check out this guide to fix USB not recognized issue.
6 – Press and hold the Volume Down + Power button on your device.
7 – Release the button when the Surface logo appears on the screen.
8 – This will enter your device into the UEFI settings mode. Here, set the alternate boot method to USB first, and then SSD (hard drive) as second option.
9 – Follow on-screens installation instructions on Windows 10 setup wizard as prompted to finish the installation process.
10 – Once the installation is complete, make sure your device is connected to the internet.
Note: However, if the internet connection isn’t working, this is where the downloaded .msi driver files for Windows 10 come in handy, as they allow you to manually re/install drivers.
11 – Now when the Windows 10 starts and connection with the internet, open the Settings app.
12 – Click on Update & security and then on Windows Update.
13 – Next, click on the Check for updates button to let your Windows 10 OS start searching for the updates for outdated hardware drivers.
14 – All done.
Your Surface device should be back to working state with all issues resolved. This was the process to reset Windows 10 without recovery image on Surface devices. You can now restore backup to get all previously installed apps and program back on your device. Don’t forget to share your feedback, or help queries in comments section below.
Also Check Out on Apps For Windows 10:
Download Windows 10 ISO without Media Creation Tool via Direct Download Link
Download Windows 7, 10, 8.1 ISO – [Official Links]
Download Latest Windows 10 Insider Preview ISO Files from Official Microsoft Links
Windows 10 Language Pack Download – [Direct Links]
How to Download Windows 10 Pro ISO File


