Here’s a guide on how to flush and reset DNS connection and cache in Windows 10 to fix DNS server not responding, fix DNS server error Windows 10, fix DNS server, fix DNS leak, fix DNS Windows 10 or any other similar DNS related error on PC desktop, laptop or tablet running on Windows 10. You can use the steps below to Fix DNS on Windows 7, 8, 8.1, Vista and XP running devices as well, but mostly it can occur on Windows 10, but luckily there’s a quick fix to solve DNS issue permanently. In this tutorial i’m going to share a simple and the most effective method to flush DNS cache completely which will fix website not found error forever.

You may flush DNS on PC frequently, but do you know how to flush and reset DNS connections completely because it important to perform this action from time to time to keep your Windows web browsing experience free from errors and unexpected issues. You can flush DNS and Reset DNS connections completely using a simple method explained below. Sometimes just flushing and reset DNS is not enough, you have to flush and reset DNS completely on PC in order to get rid fix DNS error on your device.
How to Flush DNS and Reset DNS Connections & Cache on PC:
To reset your internet connection if its facing issues, you can follow the steps below to flush and reset DNS completely to get internet connection back to best working condition.
Flush & Reset DNS on PC Windows
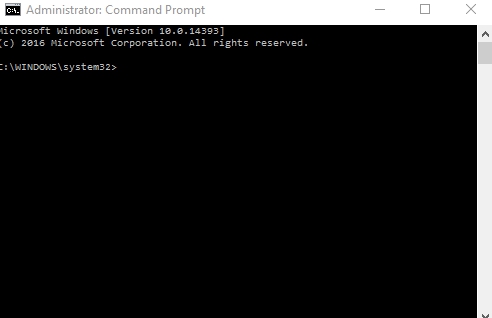
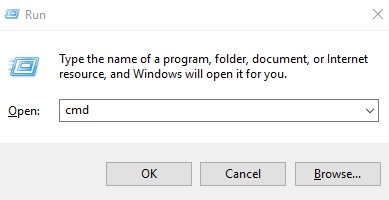
1 – Open command prompt in Windows: Press Windows (logo) key + R on keyboard to open RUN Dialogue box and see the step 2 to open command prompt. OR right-click on Start button and select ‘Command prompt (admin)’ from the resulting list of options (on Windows 10/8/8.1 only).
2 – Type cmd in the RUN Dialogue box (if you’re using this method of open command prompt in Windows ) and hit enter.
3 – Next, in the command prompt, type ipconfig / flushdns and hit enter.
4 – Now, type ipconfig / registerdns and hit enter.
5 – Then type ipconfig / release and hit enter.
6 – After that, type ipconfig / renew and hit enter.
7 – And finally, type netsh winsock reset and hit enter.
8 – Restart PC.
9 – All done.
On some Windows versions, you may need to open the command prompt as Administrator. On Windows 7 or earlier, you can open command prompt as admin from Programs > Accessories right-click on command prompt option and select Run as Administrator. On Windows 8 and later, see the first two steps above.
Flush & Reset DNS on MAC
MAC user need to follow the steps below in order to complete flush and reset DNS on their device.
1 – First of all, close all programs on MAC, including apps, browsers, games or whatever is opened on your iMac or MacBook.
2 – Head over to Applications > Utilities > Terminal
3 – In the terminal interface, type the following command in for your Mac OS version:
- sudo discoveryutil mdnsflushcache and hit enter. (OS X 10.10 Yosemite)
- sudo killall -HUP mDNSResponder and hit enter. (OS X 10.7 – 10.9 Maverick, Lion and Mountain Lion)
- sudo dscacheutil -flushcache (OS X 10.6 and earlier versions)
4 – All done.
This will flush and reset DNS on MAC. We hope that the methods above helped you complete flush and reset DNS on PC to get internet connection back in perfect stable state. For queries, send comments below.
For more on AppsforWin10, Read:
How To Fix DNS Server Not Responding Error
How to Fix Netflix Error T1 on Windows
Top 5 Best VPN Services for PC Windows 10
Avast 2015 Offline Installers for PC Windows 10
IObit Malware Fighter for Windows 10 – Download