As we all know that the Snipping Tool isn’t enabled by default in the Windows Server 2012 R2. So we are here with the guide to let you know how to enable the Windows Server 2012 R2 Snipping Tool.
What is the Snipping Tool:
Take a snapshot to copy words or images from all or part of your PC screen. Use Snipping Tool to make changes or notes, then save, and share.
Windows 10 has another screenshot app you might also like to try, but the feature was not available in the previous Windows Server 2012 R2.
How to Enable Windows Server 2012 R2 Snipping Tool:
Snipping Tool is not enabled by default in Windows Server 2012 R2. To install the Snipping Tool, just follow the next instructions:
- Go to Server Manager.
- Click Manage in the upper right corner.
- Click Add Roles and Features.
- Click Next > Next > Next.
- At Server Selection select your server.
- Click Next > Next.
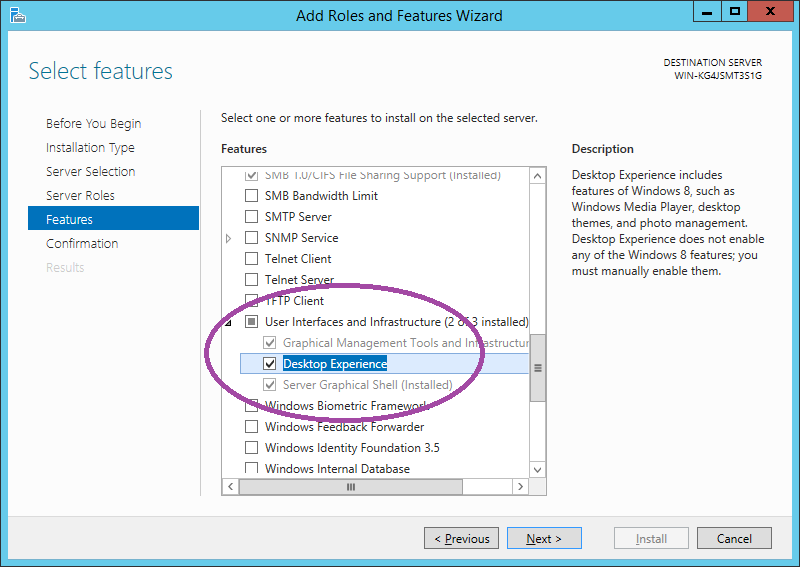
- At Features expand User Interfaces and Infrastructure.
- Check Desktop Experience.
- If an Add Roles and Features Wizard window pops up with a list of features required for Desktop Experience , just click Add Features.
- Click Next > Install.
- Restart your server.