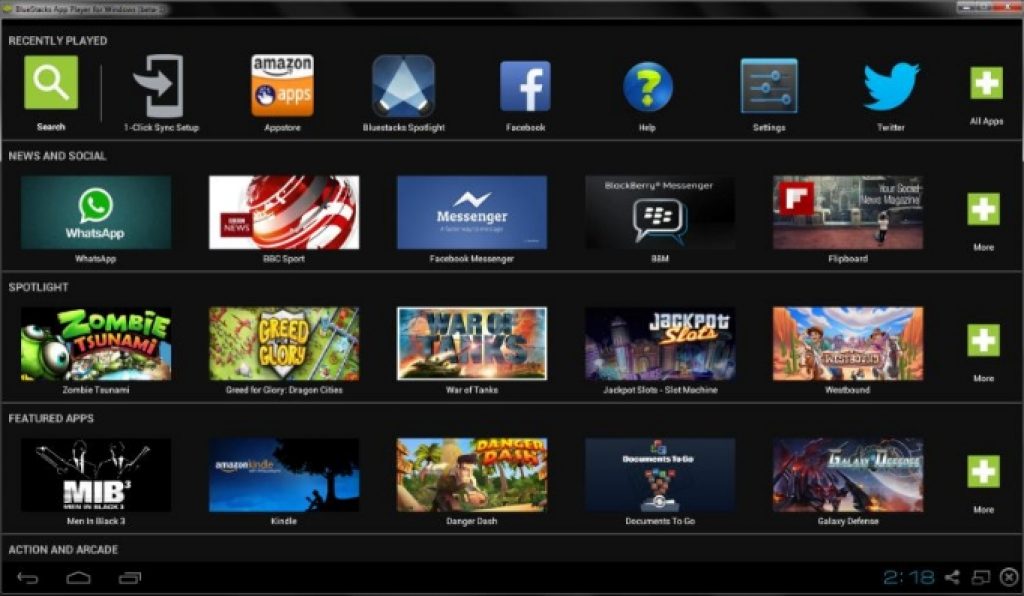
Here’s a guide to root BlueStacks on PC Windows & MAC. BlueStacks is world’s number 1 Android app player for Windows and MAC OS/OS X platforms. BlueStacks for PC transforms your desktop/laptop or Windows Surface tablet into a virtual Android device so that you can play millions of Android apps on computer with mouse and keyboard, use webcam for video chats, edit photos in photo editor apps, play 3D games and much more. Android is an open-end firmware that allows you to tweak your device and gain root access in order to customize device’s otherwise restricted features and software options. Rooting Android also enabled you to root Android apps and play the way you like. Since BlueStacks (2017) transforms your PC into an Android device, it also makes it possible for you to root BlueStacks on Windows 7, 10, 8, 8.1, XP, Vista and Mac OS X/macOS Sierra PC desktop or laptop to play rooted Android apps. In this guide we are going to show you how to root BlueStacks for PC to enable all hidden features of the best Android App Player for PC.
BlueStacks app player for PC allows you to transfer Android experience from Android devices on to PC desktops or laptops running on Windows or Mac OS/OS X operating systems. BlueStacks 2017 emulator turns your computer into an Android device as if you are using a real Android smartphone or tablet for playing Android apps. Download Rooted BlueStacks and get all your favorite Android games and apps on PC from the Google Play Store and install them as you do on any Android device. BlueStacks is also available in original stock form, you can download BlueStacks in stock state on your PC but some functions will be restricted or blocked by the manufacturer for security reasons. However, just like any Android mobile or tablet, you can also root BlueStacks Android app player for PC.
Those who are looking for help to root current version of BlueStacks can see the guide on how to root BlueStacks 2 for PC and also check how to run Android apps on PC using BlueStacks 2. And those who are looking for ways to root BlueStacks 2017 can keep on reading this guide for assistance.
Why Root BlueStacks?
Let’s see what advantages rooting BlueStacks offers to users on Windows or Mac PCs. As we mentioned earlier Android’s open source nature makes it possible to customize settings to increase the potential of an Android device. Since BlueStacks turns PC into a virtual Android device which means you can root it to maximize its performance.
And to customize the system, developers regularly release rooted Android apps that works only on rooted devices. Rooted apps helps increase the battery life, which is perfect for playing graphics heavy Android games on laptops via BlueStacks. You can also add new features to your device, backup your apps and to perform tasks that you can’t on an original stock version of Android.
Some famous apps that work on rooted Android devices include LUCKY PATCHER, Titanium backup, CPU over/under clock apps, and many more. You can download and install rooted BlueStacks 2017 like you do the stock normal version as we have shown in the guide link provided above. You can root BlueStacks for Windows 7, Windows 10, Windows 8/8.1, XP, Vista and Mac OS/OS X PC desktop or laptop.
Download Rooted BlueStacks 2017 and How to Install Rooted BlueStacks on PC Windows and MAC:
1 – Before you begin, make sure to uninstall any previous (Stock/rooted) version of BlueStacks from PC as this new version will replace the current version on your computer.
2 – Download the pre-rooted BlueStacks setup file.
3 – Now install and setup BlueStacks on PC Windows or MAC in the same way as you install any other version of BlueStacks (just use the rooted setup file in the link above instead of the normal one for installation), see complete BlueStacks installation guide here.
4 – Open rooted BlueStacks emulator on PC, search for the Root Checker app and install it from the Google Play Store in BlueStacks.
5 – Setup and open the Root Checker app and verify root access on BlueStacks.
6 – After successful verification of the root access, you can now install rooted apps on BlueStacks.
7 – All done. Enjoy!
See more on AppsforWin10:
Top 5 best Android Emulator Apps for Windows PC 2016.
Download and Install Android N Emulator for Windows 10 (32-bit/64-bit)
N64 for Windows 10 – Download Best Nintendo 64 Emulator for PC
Best iOS Emulators for PC Windows 10

